Struggling with complex lighting configurations? Old designs are inefficient and costly. Let me show you how to simplify the process with modern, smart solutions that save money.

Proper street lamp configuration involves analyzing road width, pole height, and required brightness (lux levels). Modern Chinese suppliers offer smart, customizable solutions that simplify this process with integrated technology, often at a significantly lower cost.
Getting the configuration right seems complicated, but it's simpler than you think. It is about breaking it down into key factors. In my years starting Sunlumin Solar, I have seen how a few key decisions can make or break a project. Let's explore these factors one by one and see how modern solutions are changing the game.
How Does Lighting Design Impact Night Street Light Photography?
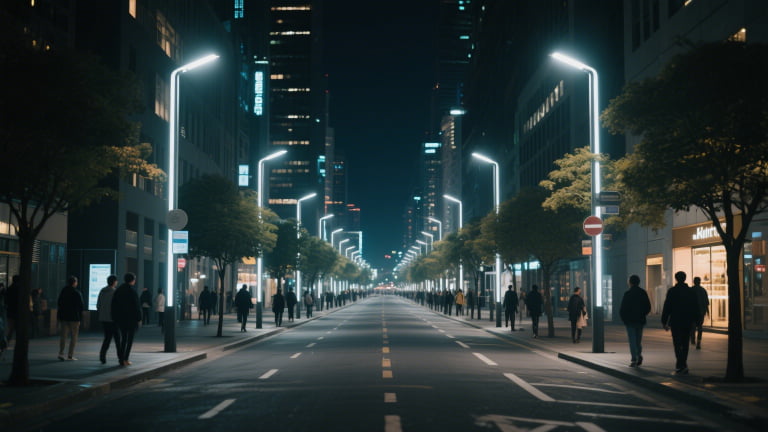
Are your night photos ruined by harsh glare and uneven light? Bad street lighting creates ugly orange glows. Proper lighting design can make your city's nights beautiful and photogenic.
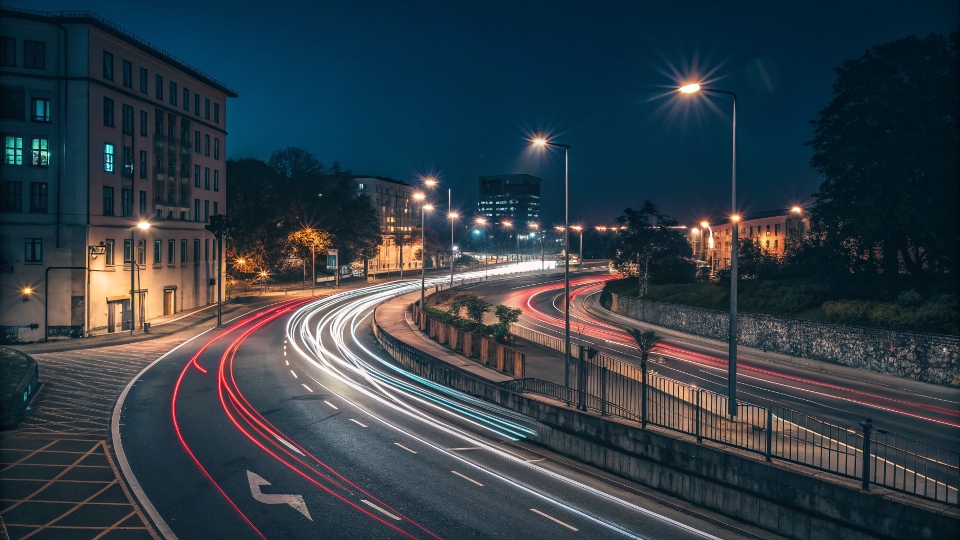
Good lighting design for photography uses lamps with a high Color Rendering Index (CRI) and controlled light distribution. This minimizes glare and ensures true-to-life colors, creating visually appealing nightscapes perfect for photos.
I remember a client from a coastal city who wanted to revitalize their riverfront. Their goal was to make it a nighttime attraction[^1] for tourists and locals who love photography[^2]. The old, orange high-pressure sodium lights made everything look dull and uninviting. We had to focus on the visual experience[^3].
[^1]: Explore innovative ideas and successful case studies to transform your riverfront into a vibrant nighttime destination.
[^2]: Find out the top spots and tips for nighttime photography to inspire your riverfront revitalization project.
[^3]: Discover techniques and design principles that can elevate the aesthetic appeal of your riverfront, attracting more visitors.
Color and Clarity Matter
The first thing we changed was the quality of the light itself. We used LED fixtures with a high Color Rendering Index (CRI) of over 80. This means the light shows colors accurately, just like in daylight. We also chose a neutral white color temperature (CCT) of 4000K, which feels clean and modern without being too blue or harsh.
Controlling the Glare
Next, we tackled glare. Glare is the enemy of good photography. It creates lens flare and makes it uncomfortable to look at the scene. Our lamps use advanced optics that direct light precisely onto the ground and paths, not into people's eyes or camera lenses. This small detail made a huge difference.
| Light Feature | Poor for Photography | Good for Photography | Why It's Important |
|---|---|---|---|
| CRI | < 70 | > 80 | Shows true, vibrant colors |
| CCT | ~2200K (Orange) | 3000K-4000K (Neutral White) | Avoids an unnatural color cast |
| Glare Control | Uncontrolled | Precise Optics | Prevents lens flare, improves comfort |
Where Can You Find a Reliable Street Lighting Design Calculation PDF?
Tired of searching for outdated, generic lighting calculation guides? These PDFs often lack the practical details needed for a real project. I'll guide you to what a truly useful design document looks like.

You do not just find a reliable calculation PDF; you create it with your supplier. A good manufacturer provides a custom DIALux simulation report. This PDF details lux levels, uniformity, and pole placement for your specific project.
When I first started in this industry, I talked to many designers like Tom in Bangladesh. They would often ask me for a standard "calculation PDF". I quickly learned that this is the wrong question. A generic document is useless because every street is unique. The road width, the pole height you plan to use, and your local regulations all change the calculation.
The Power of DIALux Simulation
The real solution is a DIALux report. DIALux is a professional lighting design software that is the industry standard. At my company, we create a 3D model of the client's actual project site. We input the road dimensions, pole locations, and the specific lamps they are considering. The software then simulates the lighting performance.
What to Look for in the Report
The PDF report generated from this simulation is your real guide. It should include a color-coded map showing the exact illuminance (lux) levels across the road surface. It will also provide crucial data like lighting uniformity ratios, verifying that there are no dangerous dark spots between poles. It’s a complete, customized plan that proves the design works before you ever purchase a single light. This is a service we provide to all our serious clients because it eliminates risk.
What Determines the Ideal Distance Between Street Lights in Meters?
Placing street lights too close wastes money on unnecessary poles and fixtures. Placing them too far apart creates dangerous dark spots. Let's find the perfect balance for optimal safety and efficiency.

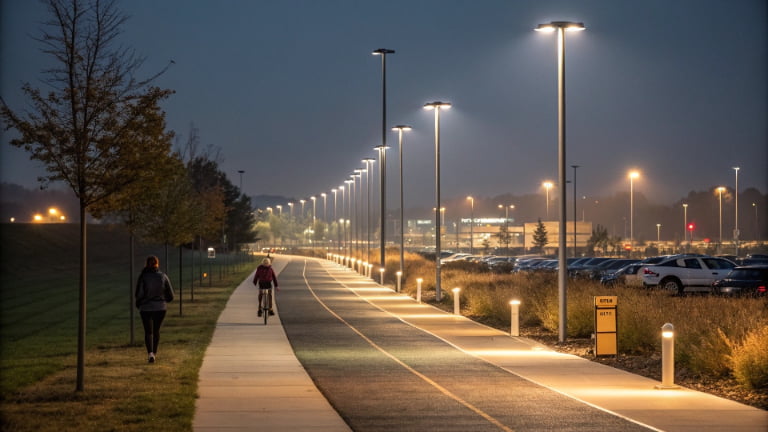
The distance between street lights depends on three main factors: the height of the pole, the lamp's wattage or lumen output, and the light distribution pattern from the lamp's optics.
Finding the correct spacing is a critical part of any street lighting project. It directly impacts both the project's cost and its effectiveness. As a supplier, I have seen projects become 20% more expensive than necessary simply because this was not optimized. Modern lamps, especially from China, have incredible flexibility here.
The Height and Power Rule
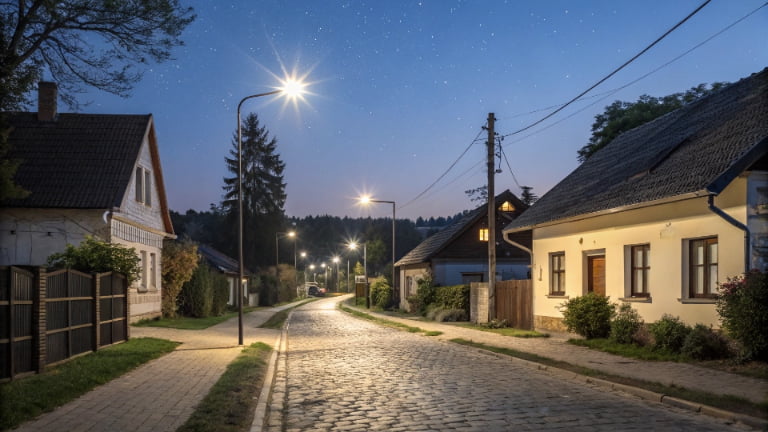
The relationship is simple. The higher the pole, the farther apart you can place the lights because the light cone covers a wider area. Similarly, a more powerful lamp (with higher lumen output) can illuminate a larger area, allowing for greater spacing. The key is to match the height and power to the road's requirements. You don't need a 12-meter pole with a 200W lamp for a quiet residential street.
The Importance of Optics
This is where modern technology really shines. The lens on the LED lamp, known as the optic, shapes the light. A "Type II" optic creates a long, narrow pattern perfect for standard roads. A "Type V" optic creates a circular pattern for intersections. By choosing the right optic, we can direct light exactly where it is needed and maximize the spacing between poles, saving significant costs.
| Pole Height | Recommended Power | Typical Spacing | Best For |
|---|---|---|---|
| 6 meters | 30-50W | 20-25 meters | Residential Streets |
| 8 meters | 60-100W | 25-35 meters | Collector Roads |
| 10-12 meters | 120-200W | 35-45 meters | Major Roads & Highways |
How Can a Street Light Design Calculation Excel Sheet Simplify Your Project?
Drowning in complex lighting formulas? Manual calculations are slow and full of potential errors. An Excel sheet can be a great first step for quick project estimates and budgeting.
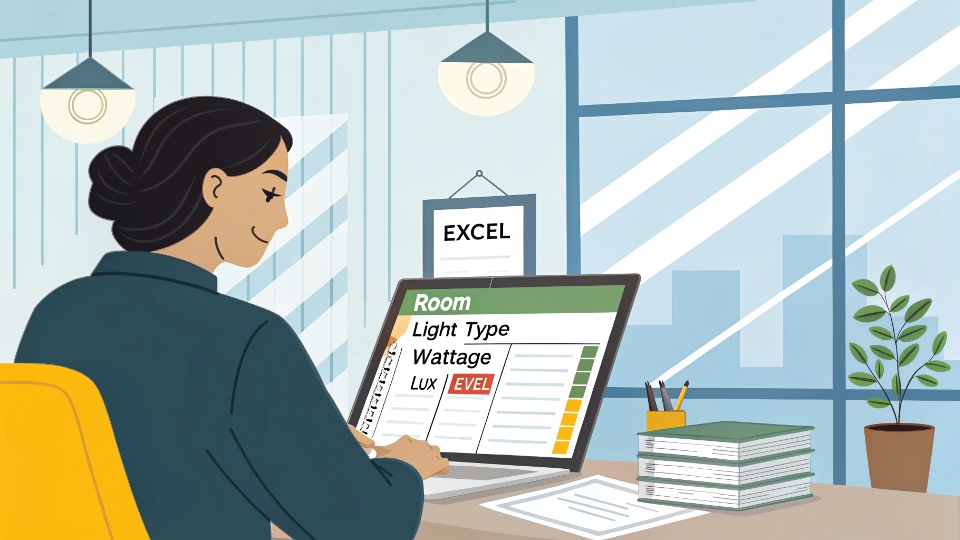
An Excel calculation sheet simplifies initial project planning by automating formulas for lumen requirements and pole spacing. It provides a fast way to compare costs and make preliminary decisions before a full simulation.
While I always recommend a full DIALux simulation for the final design, I understand that designers and project managers need a tool for quick checks. An Excel sheet is perfect for this. I often provide a template to my clients to help them in the early stages.
Excel for Quick Estimates
A good calculation spreadsheet allows you to input basic project variables. You can enter the road length and width, the desired average lux level, and the pole height. The formulas inside will then give you a rough estimate of the number of lamps needed and the required lumen output for each lamp. This is incredibly useful for initial budgeting. For example, you can quickly see how choosing a Chinese lamp that is 40% cheaper than a European brand dramatically improves the project's return on investment.
The Limits of a Spreadsheet
However, it is important to understand the limits. An Excel sheet cannot account for the specific light distribution pattern (the optics) of a lamp. It assumes uniform light spread, which is never the case in reality. It also cannot model obstacles or verify lighting uniformity. A spreadsheet is a fantastic tool for asking "what if" questions about cost and quantity, but it is not a substitute for a professional engineering report like DIALux. Use it to start the conversation, not to finalize the plan.
Conclusion
Configuring street lamps is about leveraging new technology and smart partnerships. With modern tools and the right supplier, you can easily create lighting solutions that are efficient, cost-effective, and beautiful.