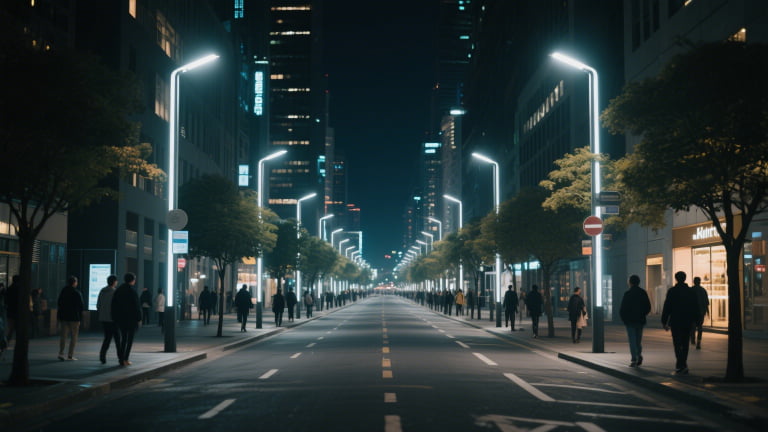
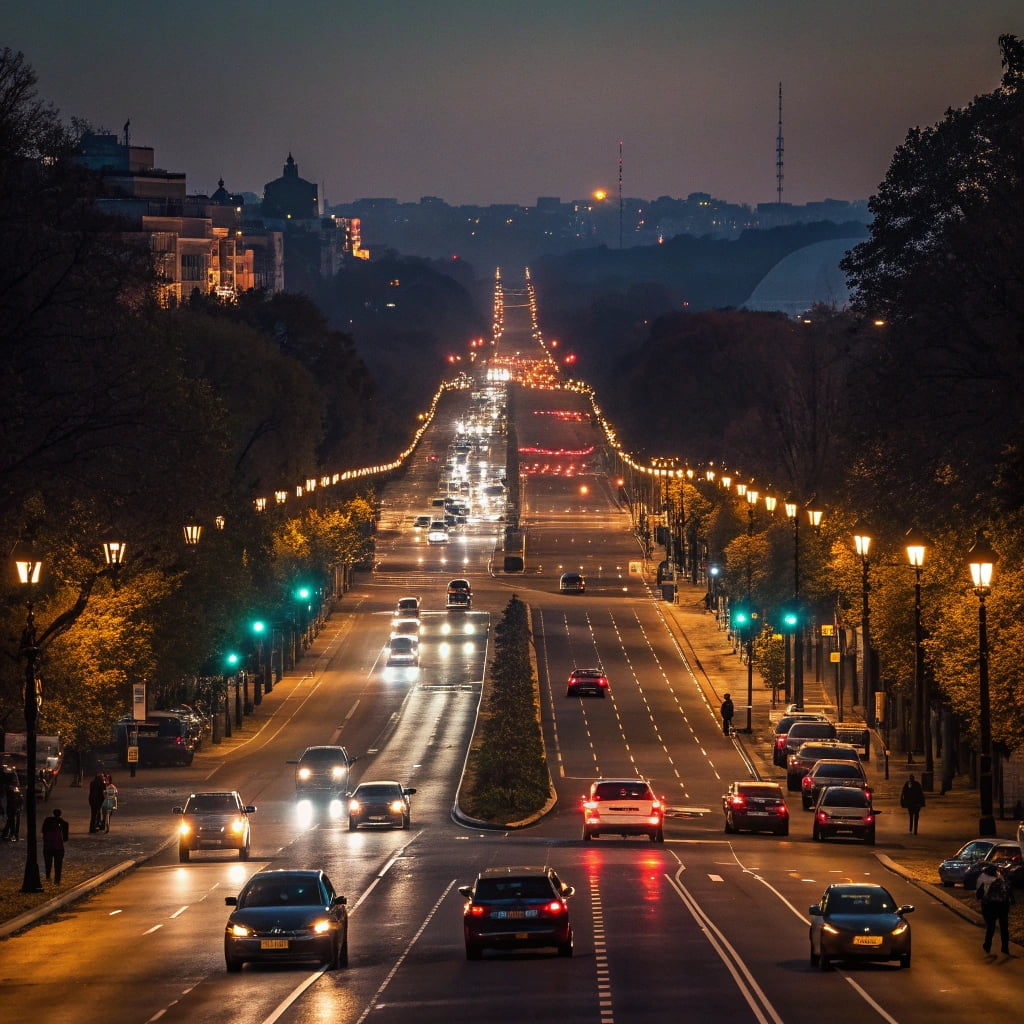
Street lights switch on automatically at dusk, and it feels like magic. You might assume it's a complex city-wide timer system. This makes the technology seem complicated and out of reach for a standalone system.
An automatic street light uses a sensor to detect the drop in ambient light at dusk. This sensor triggers a switch or a controller, which then directs power from the grid or a battery to turn on the lamp, reversing the process at dawn.
I remember my early days in the factory, watching the testing room where rows of lights would turn on in unison as they simulated sunset. It looked magical then, but the principle is beautifully simple. The real magic, and the hard engineering work, is in making that simple switch reliable enough to work flawlessly for ten years or more in rain, snow, and heat. The questions you're asking about DIY circuits are a fantastic way to understand the core principles behind my industry, so let's break them down.
How to Make an Automatic Street Light Step by Step?
You see DIY projects online and think it looks easy. This can make you wonder why professional systems are so much more robust and expensive. The truth is that the basic concept is simple, but making it last is very hard.
To conceptually make a basic automatic light, you connect a power source to a light sensor (like an LDR), a switching component (like a transistor), and the light itself (an LED). The sensor tells the switch to turn the light on when it gets dark.
Building a hobbyist version on your desk is a great learning exercise. But scaling that up to a commercial product that can withstand a hurricane is a huge leap. A professional system follows the same basic steps but uses industrial-grade, highly integrated components designed for extreme environments and maximum efficiency. Here’s a comparison of the steps and components:
| Step | DIY / Hobbyist Component | Professional / Commercial Component |
|---|---|---|
| 1. Sense the Light | Light Dependent Resistor (LDR) | The Solar Panel itself (via the controller) |
| 2. Process the Signal | Transistor or simple IC | Microprocessor in an MPPT Controller |
| 3. Power the Light | Single 5mm LED | High-Power LED Module with driver |
| 4. Store the Energy | AA batteries or small Li-ion | High-capacity LiFePO4 Battery Pack |
| 5. Provide Structure | Plastic box or breadboard | Galvanized steel pole & IP66 aluminum housing |
As you can see, while the function is the same, the execution is worlds apart. The professional controller doesn't just switch the light on; it manages battery health, dims the light to save power, and maximizes solar charging.
How Does an LDR Work in an Automatic Street Light?
You hear that a component called an LDR is the key to automatic lights. But you look closely at a professional solar street light and you can't seem to find one, which is confusing.
A Light Dependent Resistor (LDR) is a sensor whose electrical resistance changes with light. In the dark, it has high resistance (blocking electricity), and in the light, it has low resistance (letting it pass). This change is used to trigger a switch.
Think of electrical resistance like a dam on a river. High resistance is a tall dam, blocking the flow of water (current). Low resistance is a very small dam that water flows over easily. An LDR is a special dam whose height is controlled by light. When it's bright, the dam is low. When it gets dark, the dam wall rises up. In a simple circuit, this "rising dam" blocks a small signal current, which is then used to tell a transistor to open the main floodgates for the LED light.
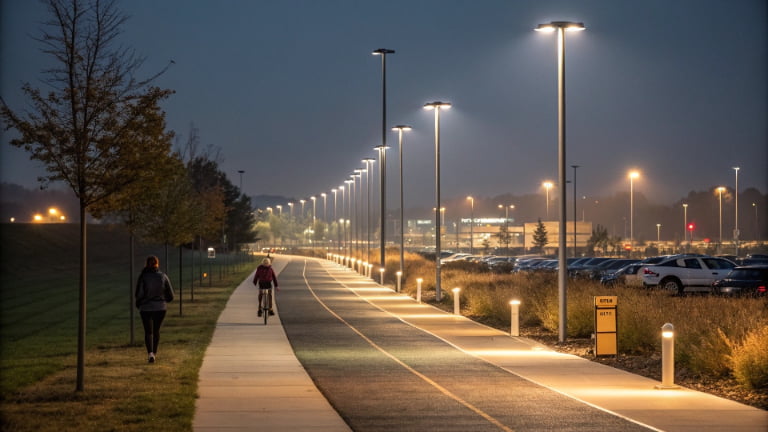
So why don't you see them on commercial solar lights? Because we have a much better sensor already built-in: the solar panel itself! A smart solar controller constantly monitors the voltage coming from the solar panel. During the day, it might be 18 volts or more. As the sun sets, the voltage drops. When it hits near zero, the controller knows it's completely dark. It then uses this signal to turn on the light. This is more reliable than a tiny, separate LDR and saves cost and a potential point of failure.
How Do You Make a Light-Activated Circuit?
You want to understand the "brain" of the operation. You've seen circuit diagrams and they look like a confusing mess of lines, but the core function is much simpler than it appears.
To make a basic light-activated circuit, you use a sensor like an LDR in a "voltage divider" with a standard resistor. This creates a point in the circuit where the voltage changes with light, which is then used to activate a switching component like a transistor.
The term "voltage divider" sounds technical, but the concept is easy. Imagine two people on a seesaw. One person is a standard resistor (their weight never changes). The other person is the LDR (their weight changes with the light). The middle of the seesaw is your signal point. When it's bright, the LDR is "light," so the seesaw tilts one way. When it's dark, the LDR becomes "heavy," and the seesaw tilts the other way.
A transistor is like a person watching the middle of that seesaw. They have one instruction: "If the seesaw tilts down, open the gate and let the power flow to the light." This simple setup is the foundation of a light-activated switch.
In a professional solar light controller, this entire concept is handled by a tiny computer called a microprocessor. It doesn't use a mechanical seesaw; it just reads a voltage number. For example: "IF solar panel voltage is LESS THAN 1 volt, THEN send power to the LED driver." It's the same principle, but executed with digital precision, allowing for much more complex and efficient control.
Do You Need a Resistor for Every LED?
You see resistors in every simple LED diagram online. You wonder if it's really necessary, and how we handle this in a huge street light with many powerful LEDs inside.

Yes, in a basic circuit, you absolutely need a current-limiting resistor for an LED. An LED has almost no internal resistance, so connecting it directly to a power source will allow too much current to flow, burning out the LED almost instantly.
Think of an LED like a special kind of hose that needs a very specific water pressure to work. Your battery or power source is like a fire hydrant—way too much pressure. The resistor is like a nozzle you screw onto the hydrant to reduce the flow to the exact amount the hose needs. Without that "nozzle," the hose would burst immediately.
So how do we do this in a commercial street light that might have 100 LEDs? We don't use 100 individual resistors. That would be inefficient and create a lot of waste heat. Instead, we use a much smarter solution called a constant-current driver.
A constant-current driver is an intelligent electronic power supply. It's like a smart, automatic nozzle. It constantly measures the current flowing to the LEDs and adjusts the voltage second by second to make sure the flow is always perfect. It doesn't matter if the battery voltage is high or low; the driver ensures the LEDs get the exact amount of power they need for maximum brightness, efficiency, and a very long life. This is one of the key pieces of technology inside a high-quality LED fixture.
Conclusion
From simple LDR circuits to smart controllers, the goal is the same: automatic, reliable light. Understanding the basics shows why professional-grade, integrated components are essential for building a system that lasts for years. The core principle—using light to trigger a switch—remains consistent, but industrial components, weatherproofing, and intelligent control turn a DIY project into a long-lasting, low-maintenance street light solution.