Your solar lights were a great investment, but now they're getting dirty and dim. You worry that neglecting them will lead to costly failures and dark, unsafe areas.

Regular cleaning and maintenance are simple and crucial for performance. Key tasks include cleaning the solar panel, checking connections, inspecting hardware for rust, and ensuring the light fixture is clear. This keeps your system efficient and extends its lifespan.
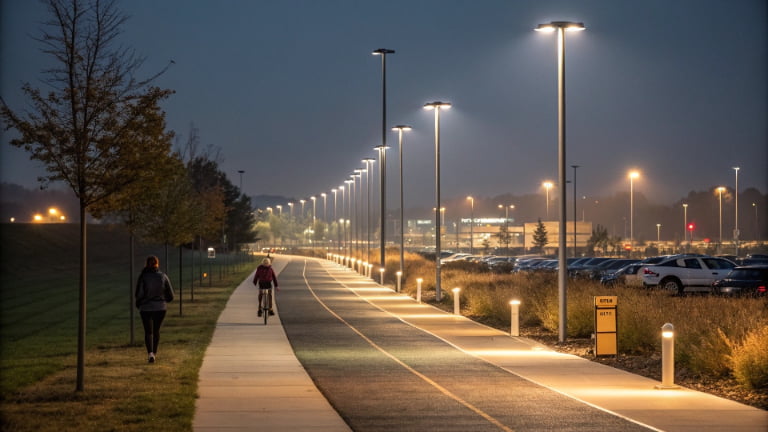
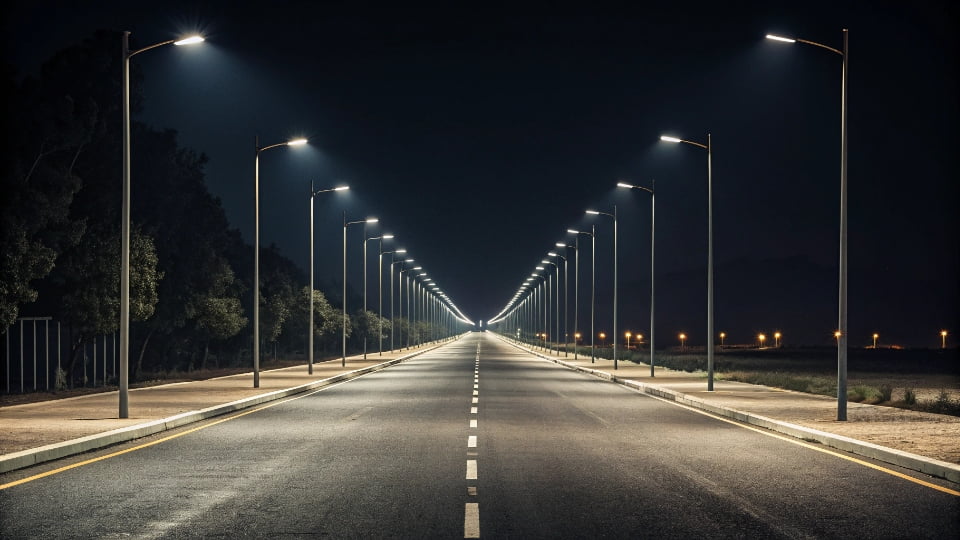
In my journey from the factory floor to running my own solar lighting company, I've seen projects succeed or fail based on one simple thing: maintenance. A solar street light is a durable piece of equipment, but it's not invincible. It's an outdoor power plant that needs a little care to perform its best. Many people think that once a solar light is installed, you can just forget about it. While they are designed to be low-maintenance, a complete lack of attention is a recipe for poor performance and a shorter lifespan. Let's walk through the simple steps that will protect your investment and keep your property safe.
What are the key steps for regular cleaning?
You see a layer of dust on your solar panels. You wonder if it really matters, but you're concerned about losing power and having lights fail on cloudy days.
The most critical step is cleaning the solar panel. Use a soft brush or cloth with water and mild, non-abrasive soap to remove dust, bird droppings, and grime. A clean panel can generate up to 30% more power, ensuring reliable performance.
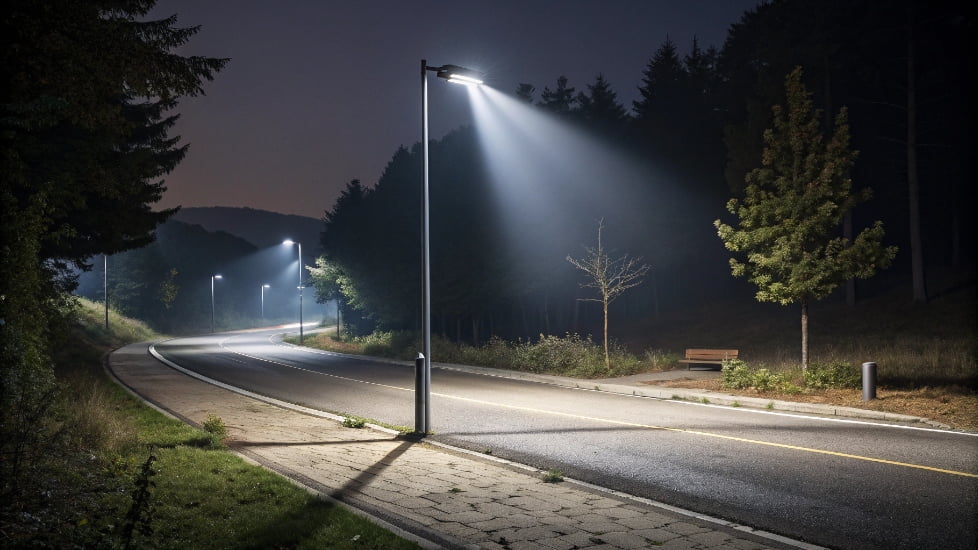
The solar panel is the engine of your street light. Anything that blocks sunlight from reaching it is like putting less fuel in your car. I remember a client in a dusty agricultural area who called me a year after installation, complaining that his lights were dimming early every night. I sent a team out, and all they did was wash the panels. The lights were back to full performance that very evening. That layer of grime was stealing hours of light. Don't underestimate the power of a simple cleaning. It's the highest-impact maintenance task you can perform.
The Panel Cleaning Process
| Step | Action | Important Details |
|---|---|---|
| 1. Safety First | Turn off the system if possible. Use a stable platform like a lift or a secured ladder. Never clean lights near active power lines. | Your safety is more important than a clean panel. Always assess the risks before you begin. |
| 2. Gather Tools | You'll need a soft brush or cloth, preferably on an extension pole. Use a bucket with water and a small amount of mild, biodegradable soap. | Avoid abrasive sponges or harsh chemicals like glass cleaner, as they can scratch the panel's surface or damage its anti-reflective coating. |
| 3. Clean the Panel | First, use a dry brush to remove any loose dirt or leaves. Then, wash the panel with the soapy water. Rinse thoroughly with clean water. | Rinsing is very important. Leaving a soap film behind can attract more dirt, defeating the purpose of cleaning. |
| 4. Frequency | Inspect your panels quarterly. You may only need to clean them once or twice a year in areas with regular rainfall. In dry, dusty, or industrial areas, you might need to clean them every 3-4 months. |
How do you inspect the hardware and fixture?
After a storm, you worry about the structural integrity of your lights. You see a bit of rust and wonder if your expensive investment is starting to fall apart.
Regularly inspect the pole, brackets, and screws for rust, corrosion, or looseness. Also, check the light fixture for water ingress, insect nests, or damage to the lens. A quick visual check can prevent a component from failing unexpectedly.
My engineer friend, Bennett, always says that a single cheap, rusty screw can bring down a thousand-dollar system. He's absolutely right. The light pole and its hardware are the skeleton of your solar light, holding everything together against wind, rain, and time. I've seen solar panels come loose in high winds simply because the bolts holding them had corroded. A visual inspection doesn't take long, but it's a critical safety measure. You're not just checking for performance; you're checking for potential hazards before they happen.
Your Hardware Inspection Checklist
| Component | What to Look For | Recommended Action |
|---|---|---|
| Pole & Brackets | Obvious rust, peeling paint, cracks near the base or welds. | For minor rust, sand the spot and apply a rust-inhibiting paint. For major corrosion or cracks, consult a professional immediately. |
| Screws & Bolts | Looseness or significant rust. | Use a wrench to tighten any loose hardware. Replace any bolts that are heavily rusted, especially those holding the panel or fixture. |
| Light Fixture | A cracked lens, condensation inside the housing, spiderwebs, or insect nests blocking the LEDs. | Clean the lens cover. If you see water inside, the seal has failed and the fixture may need replacement to prevent electrical shorts. |
| Exposed Wiring | Frayed insulation from sun exposure, animal chewing, or rubbing against the pole. | Secure any loose wires. If the insulation is broken, the wire should be repaired or replaced by a qualified person to prevent short circuits. |
What does battery and controller maintenance involve?
Your lights aren't staying on as long as they used to. You fear the expensive battery is dying and dread the cost and hassle of replacing it.

Maintenance involves checking external battery connections for corrosion and tightness. For modern, sealed lithium batteries, the main task is to monitor performance. A consistent, premature drop in run time signals that the battery is nearing its end of life.
The battery is the heart of your solar street light, and the controller is its brain. In the past, with old gel batteries, maintenance was a messy job. You had to constantly check for corrosion on the terminals. Thankfully, technology has made things much simpler. Most modern solar lights use sealed, maintenance-free LiFePO4 (lithium iron phosphate) batteries that are integrated directly into the light fixture. For these systems, you don't need to do any physical maintenance on the battery itself. Your job is to be an observer. Pay attention to how the lights perform. If a light that used to last all night starts dying after just a few hours, and you've already ruled out dirty panels or bad weather, the battery is telling you it's getting old and it's time to plan for a replacement.
Monitoring Your System's Core Components
- Battery Health: The lifespan of a lithium battery is measured in cycles. Typically, they last for 5-8 years. When they start to fail, they don't just die suddenly. Instead, their capacity to hold a charge diminishes. This shows up as shorter run times. There's no way to fix this; it's the natural end of the battery's life. The best maintenance is to track the performance of your lights so you can budget for replacements ahead of time.
- Controller Check: The charge controller is a solid-state device with no moving parts, so it rarely fails. The easiest check is to observe its behavior. Is the light turning on at dusk and off at dawn? Is it dimming according to its program? If the light stays on during the day or behaves erratically, it's a strong sign of a controller fault. Many controllers also have small LED indicator lights that can show a fault code, which you can look up in the product manual.
Conclusion
Regular cleaning and maintenance aren't difficult. A little attention to panels, hardware, and system performance will keep your solar street lights shining brightly and safely for many years to come.