Installing solar street lights can seem daunting when faced with unfamiliar components and safety concerns. Without proper installation, even the best systems fail to deliver optimal performance or may create hazardous conditions.
Solar street light installation involves preparing the site, mounting the pole and fixtures, connecting components, and testing performance. The process varies depending on whether you're installing an all-in-one integrated system or a split system with separate components.
I've installed hundreds of solar lighting systems across diverse environments, and proper installation directly determines long-term performance. Let me guide you through the essential steps to ensure your solar street lights function reliably for years to come.
Solar Street Light Installation Prep: Tools, Site & Safety?
Proper preparation is crucial for a smooth installation process and determines the long-term performance of your lighting system.

Before installation, gather necessary tools (wrenches, screwdrivers, multimeter), assess the installation site for optimal sunlight exposure, prepare the foundation, and review safety protocols. For split systems, plan cable pathways and battery locations, while all-in-one systems require simpler preparations.
When I prepare for installation, my first concern is always site selection. I carefully analyze sun exposure patterns, avoiding locations with tree shadows or building obstructions. For split systems, I need to decide whether batteries will be pole-mounted or ground-buried based on local climate conditions.
For ground-buried battery systems, I plan to excavate a battery pit below the frost line in colder regions, as this provides a stable temperature environment for the batteries to operate efficiently. [5] Ground burial particularly benefits lead-acid/gel batteries in extremely cold climates, where temperatures consistently remain below -15°C, as underground temperatures provide a more suitable operating environment. [6]
Foundation preparation is critical. I typically prepare a concrete base at least 24 hours before installation (longer in colder weather). The foundation must be level and properly cured to support the pole's weight and withstand wind loads.
For split systems, I prepare conduit pathways for cables connecting solar panels, batteries, and light fixtures. All-in-one systems simplify this process since components are pre-connected, eliminating the need for extensive wiring work. [1]
Step-by-Step Solar Street Light Installation (Pole to Wiring)?
The installation sequence must be carefully followed to prevent component damage and ensure proper system function.
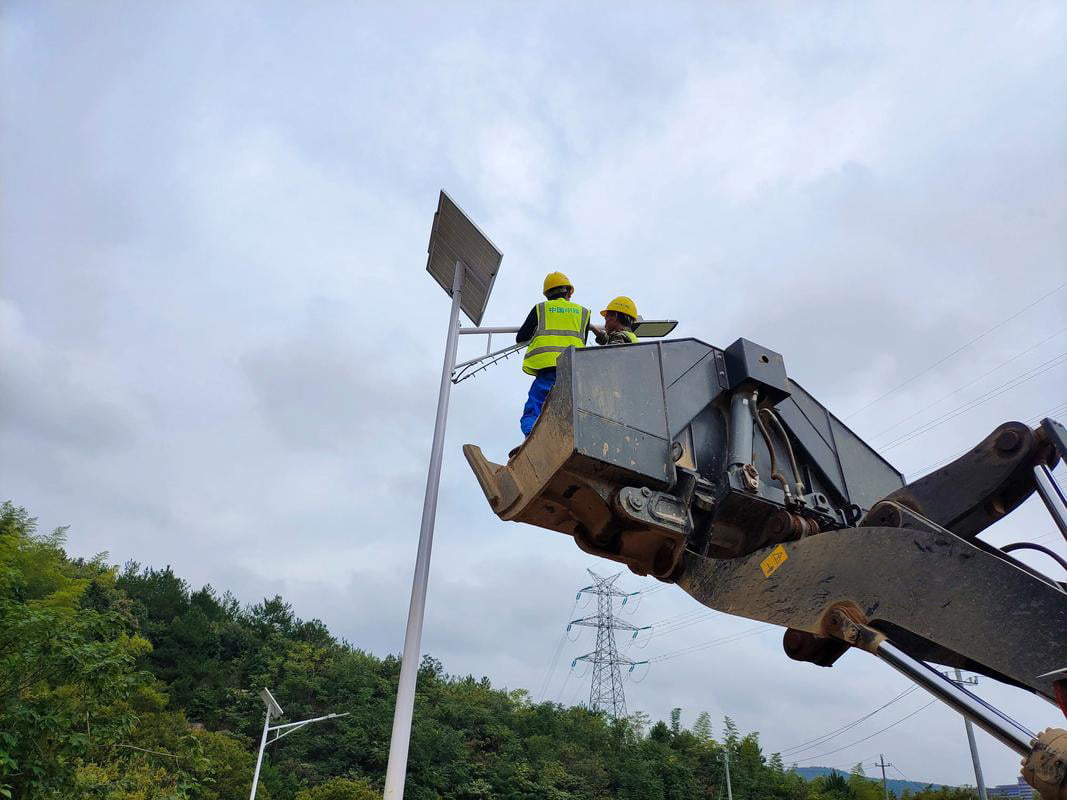
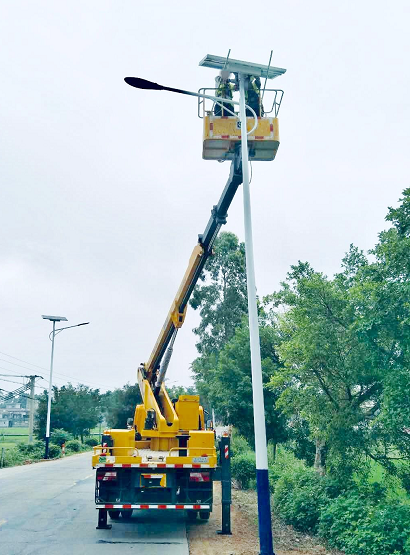
Begin by mounting the pole securely to the foundation, then install the battery system (either pole-mounted for lithium batteries or ground-buried for gel batteries). Next, attach the solar panel at the optimal angle, connect the lighting fixture, and finally make all necessary wiring connections following manufacturer guidelines.
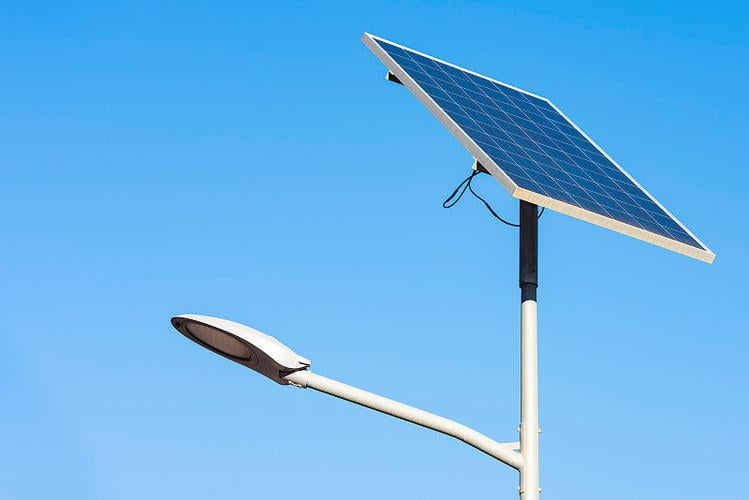
When installing split systems, I'm particularly careful about solar panel positioning. In mid-latitude regions, panels ideally need a 30-45° tilt angle for maximum solar radiation capture. [1] For roads running east-west, I position panels facing south (in the Northern Hemisphere) to maximize charging efficiency. For north-south roads, I must carefully consider panel placement to avoid suboptimal east or west orientations that significantly reduce power generation. [1]
For battery installation, I follow different procedures depending on the type. For ground-buried gel batteries, I place them in waterproof enclosures before burial, ensuring proper drainage around the pit. For pole-mounted lithium batteries, I secure them with the manufacturer's mounting brackets at an accessible height for future maintenance. [5]
Wiring requires precision, especially in split systems where I connect three component groups: the solar panel, battery, and light source. Each connection must follow proper polarity (positive to positive, negative to negative) to prevent component damage. For inexperienced installers, this can be challenging, which is why all-in-one systems with pre-connected components and mistake-proof connectors offer significant advantages. [6]
For split systems, I carefully label all cables, use appropriate cable protection measures, and ensure adequate slack for thermal expansion while preventing water entry points at connections.
Solar Street Light Post-Installation: Calibration & Testing?
After physical installation, proper system setup ensures optimal performance under varying environmental conditions.
Once installation is complete, configure the controller settings for lighting schedules, test the system's charging capability during daylight, verify proper illumination at night, and check all motion sensors and automatic functions. Document initial settings as a baseline for future maintenance.
When configuring controllers, I set appropriate lighting modes based on the specific application. Most solar lights offer multiple operation modes including dawn-to-dusk lighting, timed operation, or motion-activated settings. [3] For energy conservation, I often program time-segment controls that divide nighttime into multiple periods with different brightness levels based on expected activity. [3]
For systems with motion detection, I carefully test and adjust sensitivity settings. Many all-in-one systems include motion sensors to conserve energy, but these sometimes have limited range due to cost constraints. I ensure they activate properly when vehicles or pedestrians approach rather than only when directly beneath the fixture. [2]
I always check the photovoltaic sensing function that enables automatic dusk activation. Solar panels function as light sensors, generating different voltages under varying light conditions. The controller uses this voltage difference to determine when to activate the lights. [3] I verify this threshold is correctly calibrated for the specific installation location.
For newly installed systems with dawn lighting features, I inform clients that these functions may require about a week to operate correctly as the system "learns" local sunrise patterns. [3]
Solar Street Light Installation: Mistakes to Avoid & Fixes?
Common installation errors can significantly reduce system lifespan and performance, but are easily avoided with proper awareness.
Avoid improper pole foundation, incorrect solar panel orientation, loose wiring connections, and neglecting local weather conditions in system design. For split systems, prevent cable routing errors and battery placement mistakes, while all-in-one systems require attention to proper fixture angle and secure mounting.
The most frequent mistake I've encountered is improper solar panel orientation. In all-in-one systems, the panel's angle is limited by the fixture design (typically around 15°), which may not be optimal for mid-latitude regions where 30-45° angles provide maximum solar radiation. [1] When installing split systems, I always calculate the optimal tilt angle based on the installation latitude rather than using a "one-size-fits-all" approach.
Road orientation significantly impacts all-in-one light performance. On north-south roads, integrated panels face either east or west rather than the optimal southerly direction (in the Northern Hemisphere), reducing charging efficiency. [1] In such cases, I sometimes recommend split systems that allow independent panel positioning.
For split systems with multiple components, incorrect wiring sequence or reversed polarity connections can damage components or prevent proper operation. I always use a systematic approach, connecting batteries last, and utilize properly labeled connectors when available. [6]
Battery placement errors are also common. Ground-buried batteries require proper drainage and protection, while pole-mounted batteries need secure attachment and appropriate positioning for temperature management. [5] [6]
For all-in-one systems, a common error is underestimating arm length requirements when the pole is set back from the roadway. Since the fixture itself serves as the arm and has fixed dimensions, improper placement can result in inadequate road coverage. [2]
Conclusion
Proper solar street light installation combines careful preparation, precise component placement, accurate wiring, and thorough testing. By following these steps and avoiding common pitfalls, you'll ensure your solar lighting system delivers reliable, efficient performance throughout its service life.