When your solar street light fails to illuminate, it can leave you frustrated and searching for solutions in the dark. Diagnosing the issue correctly is essential before attempting repairs or replacements.
Solar street lights typically fail due to four main issues: depleted batteries, incorrect controller settings, solar panel problems (dirt or improper orientation), or component failures. Most problems can be resolved through systematic troubleshooting of each system element.
Having installed and maintained countless solar lighting systems, I've encountered nearly every possible failure mode. Let me walk you through how to diagnose and fix your non-working solar street light.
How to Reset Solar Street Lights?
When your solar light malfunctions, a reset can often resolve controller or programming issues without requiring replacement parts.
To reset a solar street light, first turn off the system by disconnecting the battery. For all-in-one systems, look for a reset button on the controller. For split systems, disconnect all wires from the controller, wait 10-15 minutes, then reconnect in the correct sequence: solar panel first, then light, and battery last.
For split systems, proper reconnection sequence is critical. The controller typically has three sets of connections with six wires total, corresponding to the solar panel, battery, and light source's positive and negative terminals. [1] Improper connections can damage components or prevent normal operation.
When reconnecting components, pay close attention to polarity. Gel battery controllers are particularly sensitive to correct wiring sequence and polarity. However, lithium battery systems often include mistake-proof connectors that prevent incorrect connections, making the reset process somewhat easier. [5]
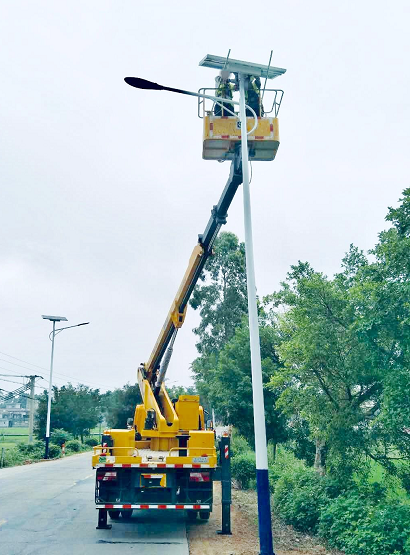
For all-in-one integrated systems, the reset process is simpler since all components are housed together, but accessing the controller may require removing the entire fixture from the pole. [3] These systems have pre-connected components, eliminating the need for reconnecting wires during reset.
After resetting, allow the system to complete a full charge-discharge cycle to recalibrate the controller's parameters and verify proper operation.
How to Know If a Solar Street Light Is Charging?
Determining whether your solar panel is effectively charging the battery is crucial for diagnosing system failures.
To verify charging, check the controller LED indicators during daylight hours - most controllers display a charging indicator. For systems without visible indicators, measure the solar panel output voltage using a multimeter during daylight. Properly functioning panels should generate higher voltage with stronger sunlight.
The solar panel functions as both a power generator and light sensor. It produces different voltages under varying light conditions, with stronger light creating higher voltage. [1] The controller uses this voltage difference to determine when to activate the lights automatically.
For split systems, you can check charging more directly by measuring voltage at the battery terminals during daylight hours. The reading should show a slightly higher voltage than the battery's nominal rating when charging is occurring.
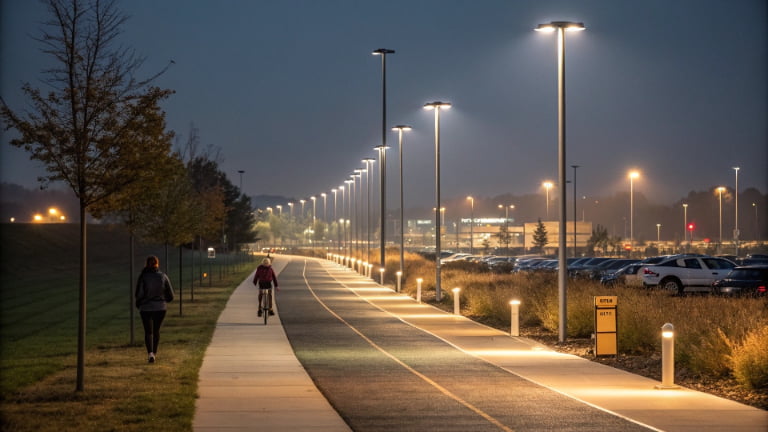
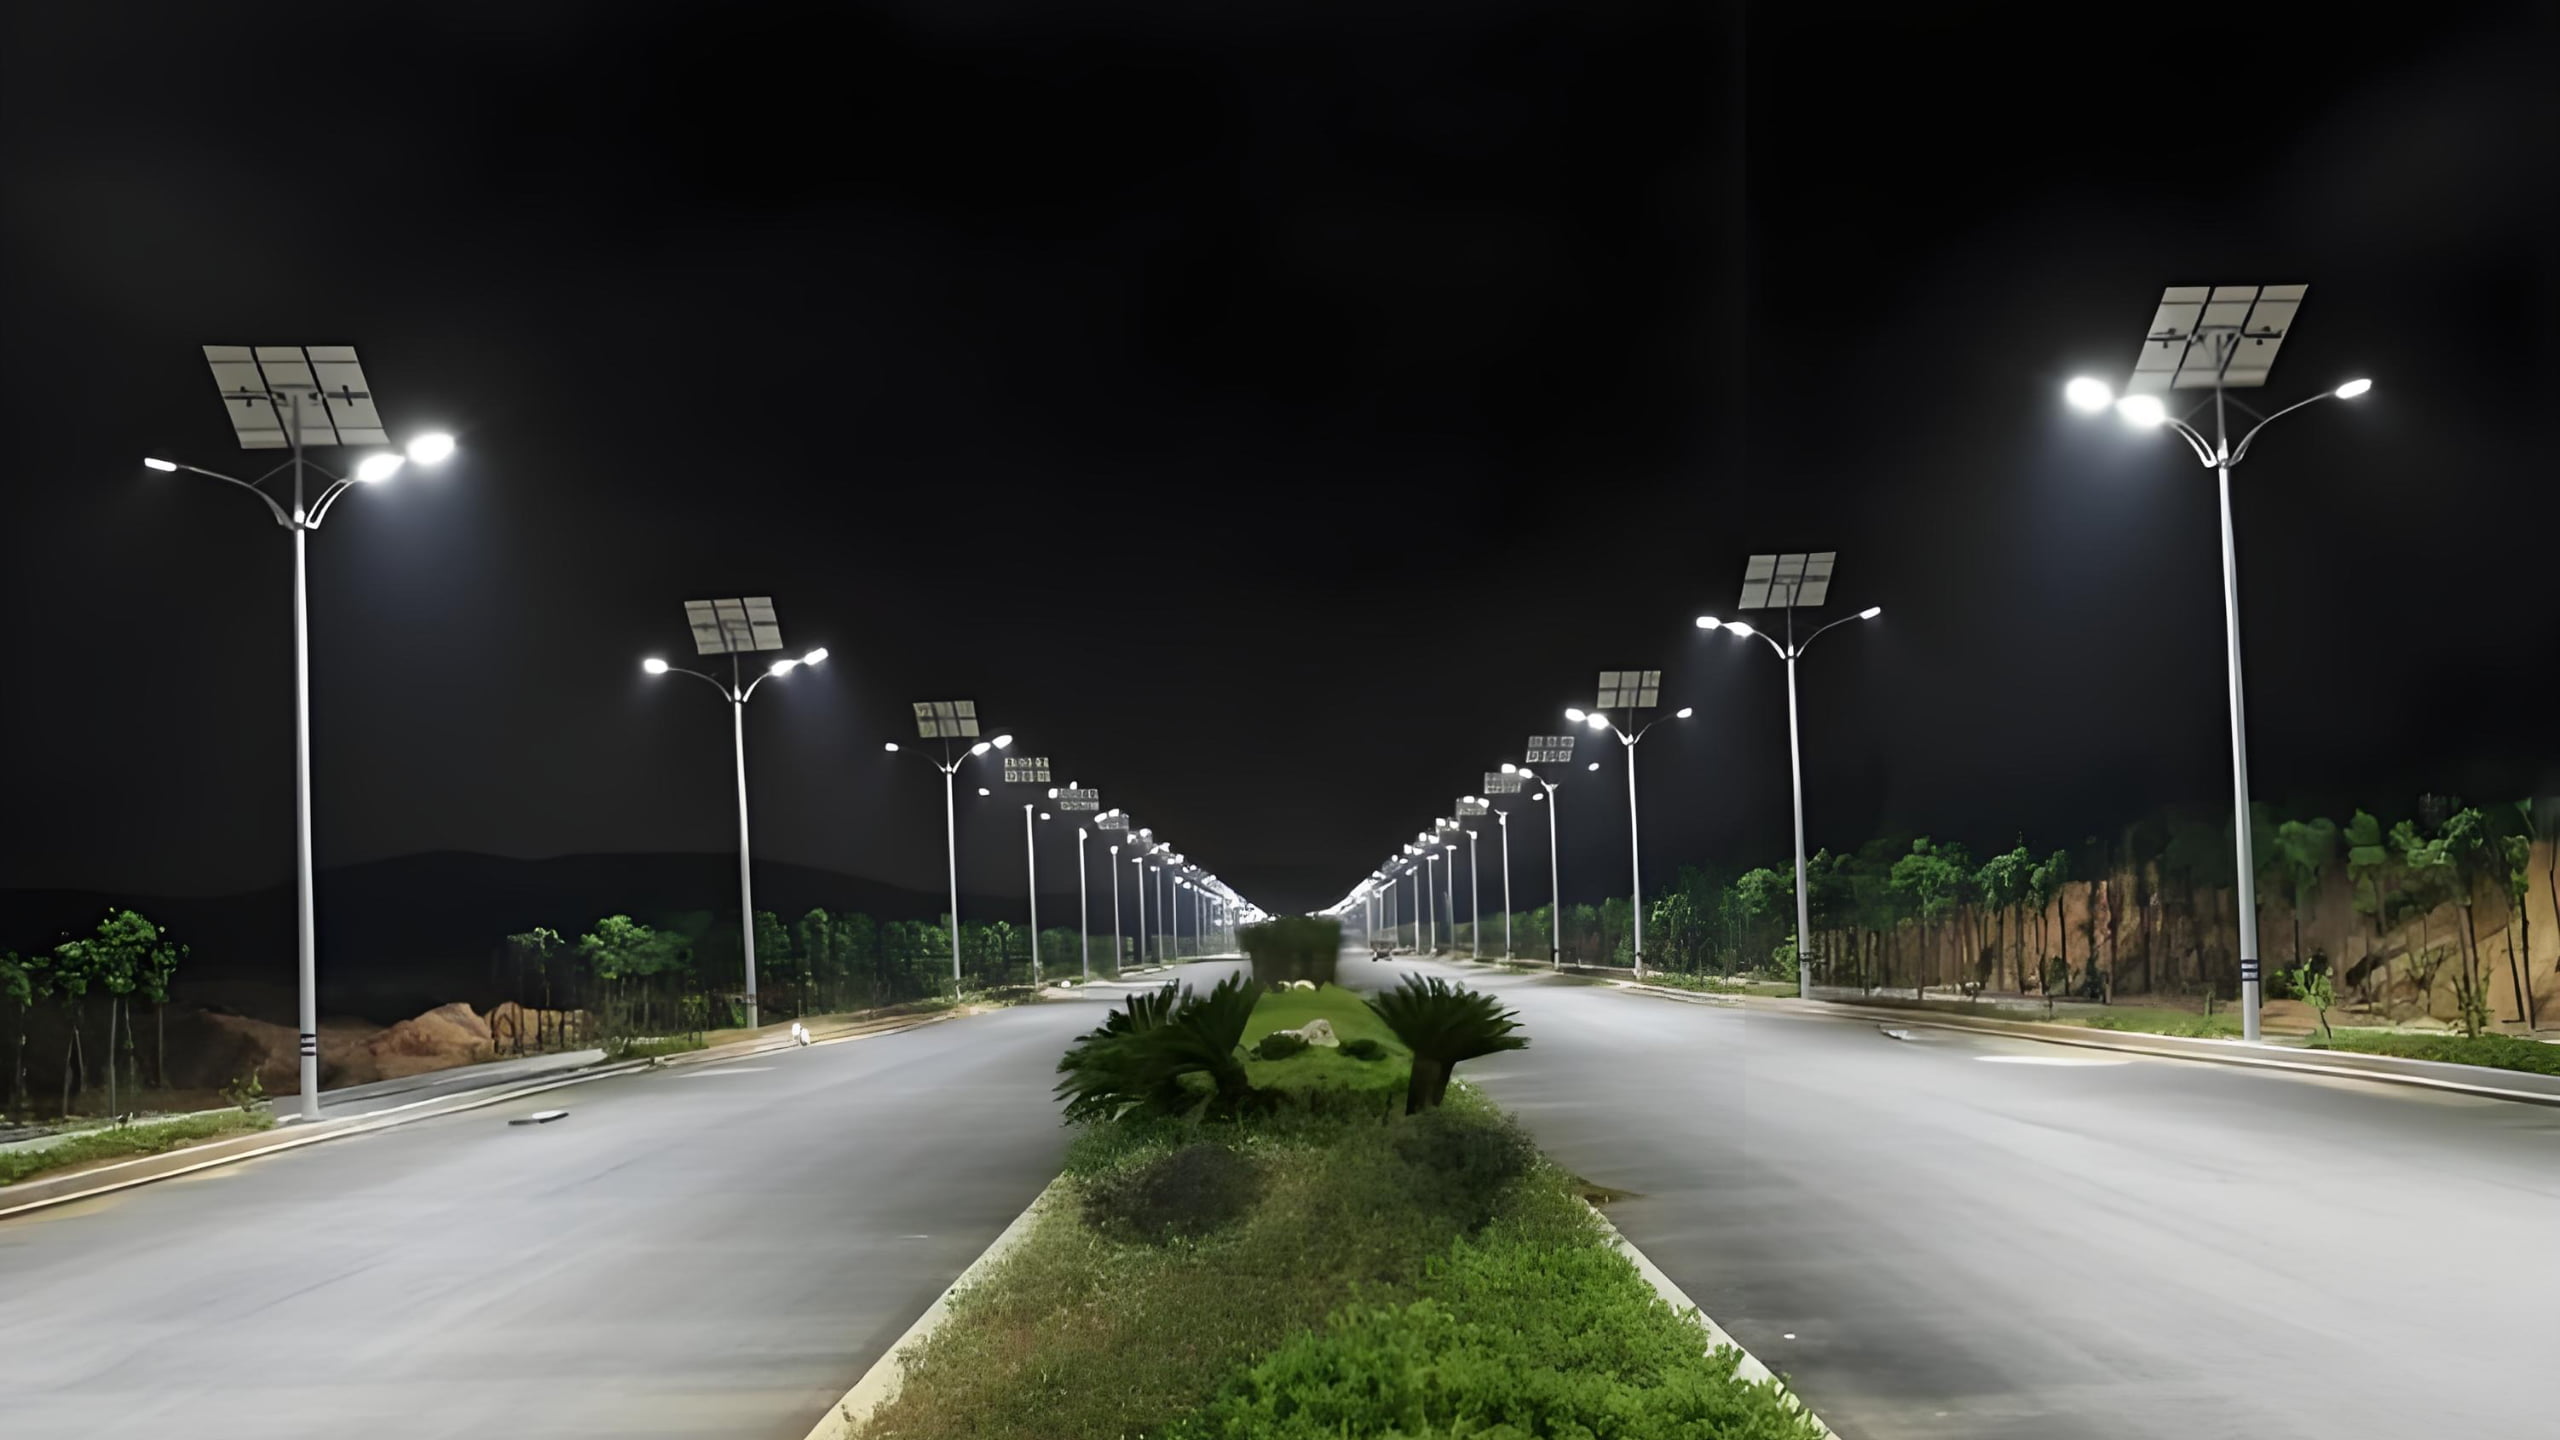
Panel orientation significantly impacts charging efficiency. In most regions of China (and similar mid-latitude locations), solar panels need a 30-45° tilt angle for maximum solar radiation capture. [3] All-in-one systems are limited to approximately 15° tilt due to their design, which can reduce charging efficiency by 2-3 times compared to optimal positioning. [3]
Road orientation also affects charging - east-west roads allow south-facing panels (in the Northern Hemisphere), while north-south roads force panels to face east or west, reducing charging efficiency. [3]
How to Test Solar Street Light?
Systematic testing helps identify which component is causing the malfunction in your solar lighting system.
Test solar lights by first checking battery voltage with a multimeter (12V systems should read 11-13V). Then verify solar panel output voltage in sunlight (should exceed battery voltage). Finally, test the light fixture by direct connection to the battery. For integrated systems, observe the controller's diagnostic indicators.
When testing the controller, understand that solar street lights primarily work through light-controlled activation and time-controlled deactivation. [1] The controller's programming determines how the system responds to different light levels and how it manages the night's lighting schedule.
For comprehensive testing, I verify the controller's time-segment functionality. Most controllers divide the night into multiple periods (typically 3-6 segments) with different brightness levels to conserve energy while meeting varying illumination needs throughout the night. [1]
For all-in-one systems, testing is more challenging since components aren't easily accessible. These systems often include motion or microwave sensors to maximize energy efficiency, but their detection range may be limited. [2] If your all-in-one light activates only when someone is directly beneath it rather than when approaching, the sensor sensitivity may need adjustment.
During testing, be aware that some advanced features like morning light (which activates lights before dawn) may require about a week of operation before functioning correctly, as the system learns local sunrise patterns. [1]
How to Activate Solar Street Light?
New solar lights or those that have been in storage may need proper activation procedures to function correctly.

Activate solar street lights by ensuring the battery is adequately charged before first use. For new systems, allow 1-2 full days of solar charging before expecting normal operation. Confirm the photovoltaic sensing function is working by covering the solar panel to simulate darkness, which should trigger the light to activate.
Solar street lights have several operating modes that affect activation. The primary mode is light-controlled on and time-controlled off, where the solar panel acts as a light sensor. When light levels drop below the preset threshold (simulating darkness), the controller activates the light. [1]
Some systems operate in pure light control mode, where both activation and deactivation depend on ambient light levels, allowing the light to operate throughout the night. [1] Others include time-segment controls that divide nighttime into multiple periods with different brightness levels based on expected activity. [1]
For systems with morning light features, activation occurs before dawn for 1-2 hours to provide illumination for early risers. This feature automatically adjusts with seasonal changes but may take approximately one week to function properly as the system learns local sunrise patterns. [1]
When activating all-in-one integrated systems, remember that their design creates certain limitations. The fixed panel angle (typically around 15°) affects charging efficiency, especially in mid-latitude regions where optimal angles range from 30-45°. [3] Additionally, road orientation determines panel direction, with east-west roads allowing better panel positioning than north-south roads. [3]
Conclusion
Solar street light problems typically stem from battery issues, solar panel positioning, controller settings, or wiring connections. Through systematic testing and proper maintenance, most non-functioning lights can be restored to full operation without expensive replacements.